


S5PV210(TQ210)学习笔记——按键驱动程序
2024-12-27 来源:cnblogs
经过前面的配置,S5PV210开发已经可以成功进入Linux控制台了,那么,有了这个环境就可以开始学习Linux驱动的编写和测试了。学习Linux设备驱动,通常是从字符设备驱动开始。由于linux驱动开发具有比较系统的体系结构,我很难在一篇文章中阐述其开发思路,为了简单起见,从本文开始,自行编写的驱动将直接附上代码,对开发过程中感触比较深的地方稍作陈述。
我写的第一个驱动程序是Led的,但是感觉没有必要发出来了,S5PV210(TQ210)的按键驱动程序源码,仅供参考:
#include #include #include #include #include #include #include #include #include #include #include static dev_t devno; static struct cdev cdev; static struct class* buttons_class; static struct device* buttons_device; static wait_queue_head_t button_waitq; static volatile int pressed = 0; static unsigned char key_val; struct key_desc{ unsigned int pin; unsigned char value; }; static struct key_desc key_descs[8] = { [0] = { .pin = S5PV210_GPH0(0), .value = 0x00, }, [1] = { .pin = S5PV210_GPH0(1), .value = 0x01, }, [2] = { .pin = S5PV210_GPH0(2), .value = 0x02, }, [3] = { .pin = S5PV210_GPH0(3), .value = 0x03, }, [4] = { .pin = S5PV210_GPH0(4), .value = 0x04, }, [5] = { .pin = S5PV210_GPH0(5), .value = 0x05, }, [6] = { .pin = S5PV210_GPH2(6), .value = 0x06, }, [7] = { .pin = S5PV210_GPH2(7), .value = 0x07, }, }; static irqreturn_t buttons_irq(int irq, void *dev_id){ volatile struct key_desc *key = (volatile struct key_desc *)dev_id; if(gpio_get_value(key->pin)){ key_val = key->value|0x80; } else{ key_val = key->value; } pressed = 1; wake_up_interruptible(&button_waitq); return IRQ_RETVAL(IRQ_HANDLED); } static int buttons_open(struct inode *inode, struct file *file){ int ret; ret = request_irq(IRQ_EINT(0), buttons_irq, IRQ_TYPE_EDGE_BOTH, 'key1', &key_descs[0]); if(ret) return ret; ret = request_irq(IRQ_EINT(1), buttons_irq, IRQ_TYPE_EDGE_BOTH, 'key2', &key_descs[1]); if(ret) return ret; ret = request_irq(IRQ_EINT(2), buttons_irq, IRQ_TYPE_EDGE_BOTH, 'key3', &key_descs[2]); if(ret) return ret; ret = request_irq(IRQ_EINT(3), buttons_irq, IRQ_TYPE_EDGE_BOTH, 'key4', &key_descs[3]); if(ret) return ret; ret = request_irq(IRQ_EINT(4), buttons_irq, IRQ_TYPE_EDGE_BOTH, 'key5', &key_descs[4]); if(ret) return ret; ret = request_irq(IRQ_EINT(5), buttons_irq, IRQ_TYPE_EDGE_BOTH, 'key6', &key_descs[5]); if(ret) return ret; ret = request_irq(IRQ_EINT(22), buttons_irq, IRQ_TYPE_EDGE_BOTH, 'key7', &key_descs[6]); if(ret) return ret; ret = request_irq(IRQ_EINT(23), buttons_irq, IRQ_TYPE_EDGE_BOTH, 'key8', &key_descs[7]); if(ret) return ret; return 0; } static ssize_t buttons_read(struct file * file, char __user *data, size_t count, loff_t *loff){ if(count != 1){ printk(KERN_ERR 'The driver can only give one key value once!n'); return -ENOMEM; } wait_event_interruptible(button_waitq, pressed); pressed = 0; if(copy_to_user(data, &key_val, 1)){ printk(KERN_ERR 'The driver can not copy the data to user area!n'); return -ENOMEM; } return 0; } static int buttons_close(struct inode *inode, struct file *file){ free_irq(IRQ_EINT(0), &key_descs[0]); free_irq(IRQ_EINT(1), &key_descs[1]); free_irq(IRQ_EINT(2), &key_descs[2]); free_irq(IRQ_EINT(3), &key_descs[3]); free_irq(IRQ_EINT(4), &key_descs[4]); free_irq(IRQ_EINT(5), &key_descs[5]); free_irq(IRQ_EINT(22), &key_descs[6]); free_irq(IRQ_EINT(23), &key_descs[7]); return 0; } struct file_operations buttons_ops = { .open = buttons_open, .read = buttons_read, .release = buttons_close, }; int buttons_init(void){ int ret; cdev_init(&cdev, &buttons_ops); cdev.owner = THIS_MODULE; ret = alloc_chrdev_region(&devno, 0, 1, 'buttons'); if(ret){ printk(KERN_ERR 'alloc char device region faild!n'); return ret; } ret = cdev_add(&cdev, devno, 1); if(ret){ printk(KERN_ERR 'add char device faild!n'); goto add_error; } buttons_class = class_create(THIS_MODULE, 'buttonsdrv'); if(IS_ERR(buttons_class)){ printk(KERN_ERR 'create class error!n'); goto class_error; } buttons_device = device_create(buttons_class, NULL, devno, NULL, 'buttons'); if(IS_ERR(buttons_device)){ printk(KERN_ERR 'create buttons device error!n'); goto device_error; } init_waitqueue_head(&button_waitq); return 0; device_error: class_destroy(buttons_class); class_error: cdev_del(&cdev); add_error: unregister_chrdev_region(devno,1); return -ENODEV; } void buttons_exit(void){ device_destroy(buttons_class, devno); class_destroy(buttons_class); cdev_del(&cdev); unregister_chrdev_region(devno, 1); } module_init(buttons_init); module_exit(buttons_exit); MODULE_LICENSE('GPL'); 测试程序代码: #include #include int main(){ int fd = open('/dev/buttons', O_RDWR); if(fd < 0){ printf('open error');; return 0; } unsigned char key; while(1){ read(fd, &key, 1); printf('The key = %xn', key); } close(fd); } 相比轮询方式的按键驱动程序,中断方式编写的按键驱动程序可以很大程度上节省CPU资源,因此,推荐使用中断方式。 但是,这种方式有个弊端,如果一直接收不到按键,程序就会永远阻塞在这里,幸运的是,linux内核提供了poll机制,可以设置延迟时间,如果在这个时间内受到按键消息则取得键值,反之则超时退出。使内核支持poll非常简单,为file_operations的poll成员提供poll处理函数即可。 使内核支持poll还需要以下几步: 添加poll头文件 编写poll处理函数: static unsigned buttons_poll(struct file *file, poll_table *wait){ unsigned int mask = 0; poll_wait(file, &button_waitq, wait); if (pressed) mask |= POLLIN | POLLRDNORM; return mask; } 将poll处理函数添加给file_operations: .poll = buttons_poll, 这样,驱动程序就支持poll机制了。下面是poll方式的测试程序: #include #include #include #include #include int main(int argc, char **argv){ int fd; unsigned char key_val; int ret; struct pollfd fds[1]; fd = open('/dev/buttons', O_RDWR); if (fd < 0){ printf('can't open!n'); } fds[0].fd = fd; fds[0].events = POLLIN; while (1){ ret = poll(fds, 1, 5000); if (ret == 0){ printf('time outn'); } else{ read(fd, &key_val, 1); printf('key_val = 0x%xn', key_val); } } return 0; } 这样按键驱动程序就完成了。如果您在编写测试阶段发现了其他问题
- 六大全新产品系列推出,MCX A微控制器家族迎来创新
- 意法半导体全新STM32C5系列,重新定义入门级微控制器性能与价值,赋能万千智能设备
- 模组复用与整机重测在SRRC、CCC、CTA/NAL认证中的实践操作指南
- 有源晶振与无源晶振的六大区别详解
- 英飞凌持续巩固全球微控制器市场领导地位
- 使用 Keil Studio for Visual Studio Code开发 STM32 设备
- 蓝牙信道探测技术原理与开发套件实践
- Microchip 推出生产就绪型全栈边缘 AI 解决方案,赋能MCU和MPU实现 智能实时决策
- 从控制到系统:TI利用边缘AI重塑嵌入式MCU的边界
- LoRa、LoRaWAN、NB-IoT与4G DTU技术对比及工业无线方案选型分析
-

【TI MSPM0 应用实战】智能小车+工业角度编码器+血氧仪+烟雾探测器!硬核参考设计详解!
-

2022 Digi-Key KOL 系列: 你见过1GHz主频的单片机吗?Teensy 4.1开发板介绍
-

TI 新一代 C2000™ 微控制器:全方位助力伺服及马达驱动应用
-

MSP430电容触摸技术 - 防水Demo演示
-

直播回放: Microchip Timberwolf™ 音频处理器在线研讨会
-

基于灵动MM32W0系列MCU的指夹血氧仪控制及OTA升级应用方案分享
-
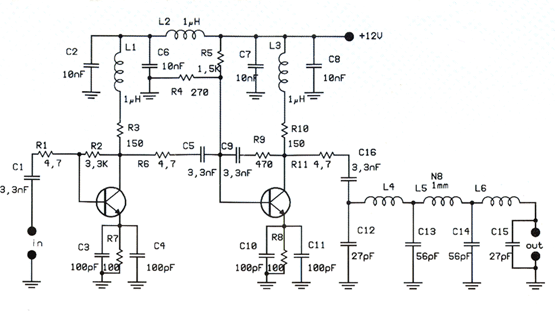
1瓦线性调频增强器
-

家用电器遥控器
-
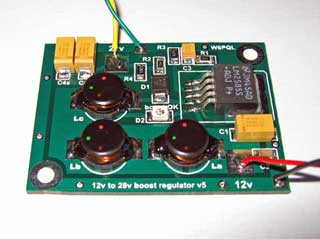
12V 转 28V DC-DC 变换器(基于 LM2585)
-
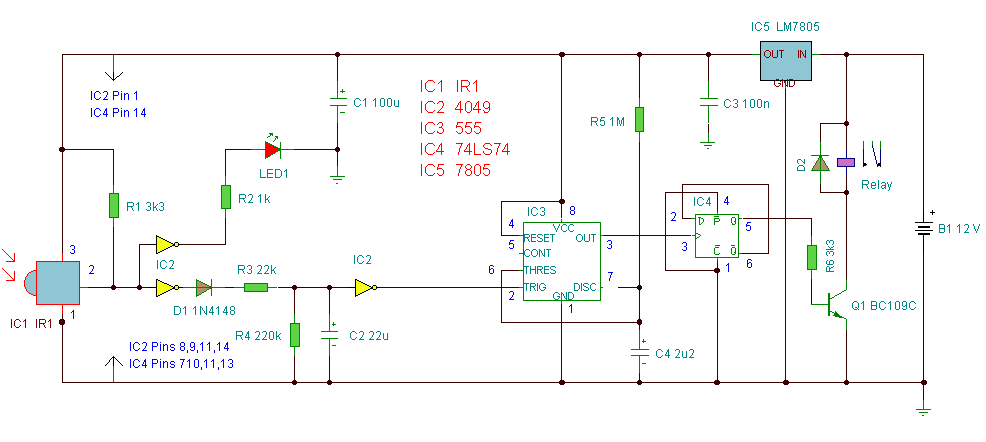
红外开关
-
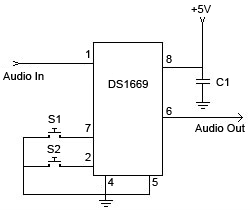
DS1669数字电位器
-
HA1377 桥式放大器 BCL 电容 17W(汽车音频)